
Used Car Ownership from Day One: Setting Up a Maintenance Baseline

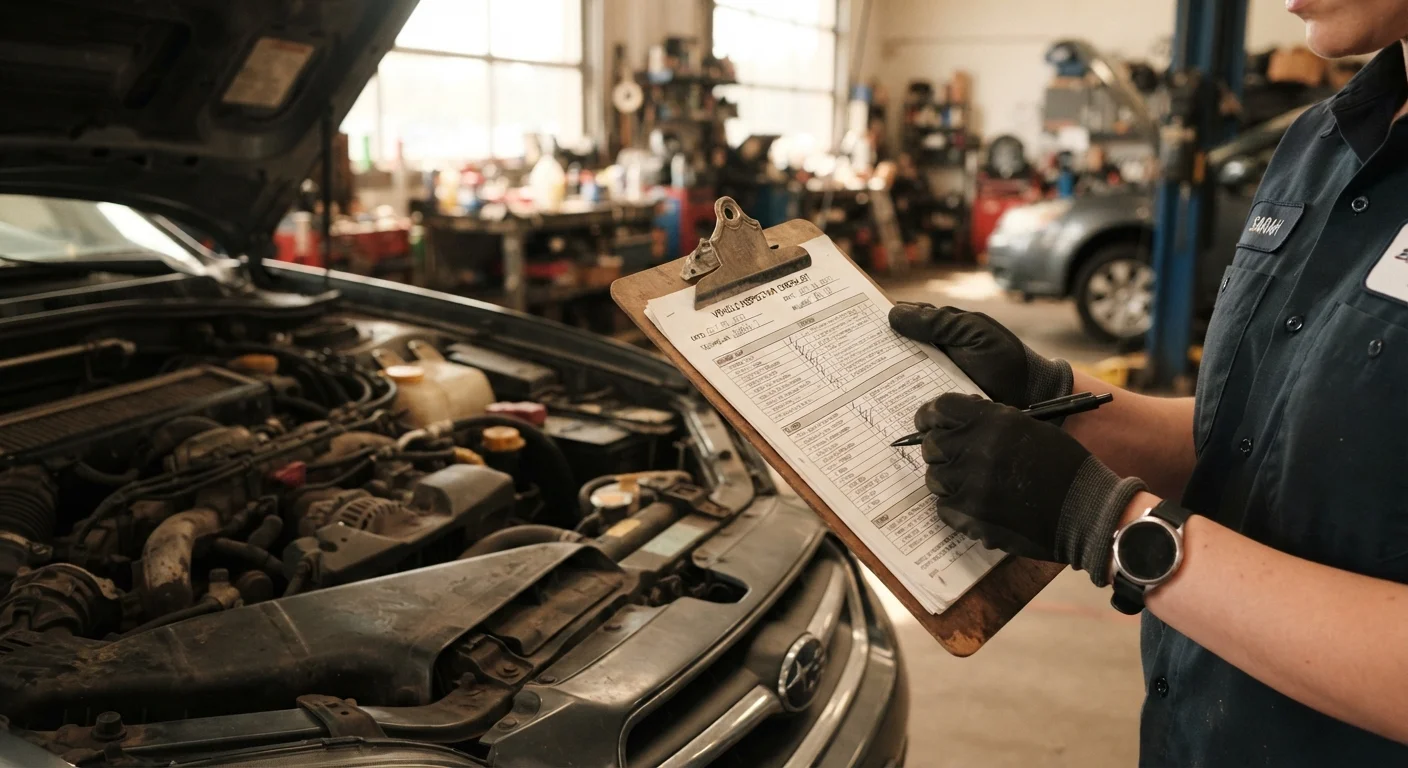
Photo: latesttrend.net editorial
Key Takeaways
- A used car's service history is often incomplete, so you need to verify its actual condition yourself.
- Establishing a maintenance baseline in the first week prevents surprises and avoids compounding neglect.
- Many baseline checks cost nothing; a few require a modest shop visit that pays for itself quickly.
- Knowing your car's real condition lets you prioritize spending instead of guessing.
Why a baseline matters when you buy used
When you buy a used vehicle, you inherit whatever maintenance was done, skipped, or done poorly by every previous owner. A spotless Carfax report does not tell you whether the coolant was last flushed three years ago or thirteen. A low odometer reading does not tell you whether the tires are five years old and dry-rotted. The only way to know what your car actually needs is to check it yourself or have someone qualified check it for you.
A maintenance baseline is a snapshot of every serviceable item on the vehicle at the moment you take ownership. It gives you a starting point so that future maintenance follows a real schedule, not a guess. It also surfaces problems early, before a minor issue like low brake fluid or a cracked belt becomes an expensive repair or a safety concern.
This checklist is organized by area of the vehicle. Work through it during your first week of ownership. Some items you can handle at home in a parking lot. Others benefit from a lift and a trained eye. For a plain breakdown of which tasks are reasonable to do yourself and which are better left to a shop, see this overview of DIY vs. professional car care.
Fluids
Tires and brakes
Belts, hoses, and filters
Lights and electrical
Documentation and records
What to do with what you find
Once you have worked through the checklist, you will likely have a short list of items that need attention now and a longer list that simply need to be tracked going forward. Group what you find into three buckets: safety-critical (brake components, tires, lights), mechanically urgent (low or dirty fluids, worn belts), and scheduled future items (filters, spark plugs approaching their service interval).
Address safety-critical items before driving the vehicle regularly. Mechanically urgent items can typically wait a few days but should not be deferred more than a week or two. Future scheduled items just need a date in your calendar.
Do not skip the first professional inspection
If your baseline reveals warning lights on the dashboard that you cannot explain, do not ignore them. A code reader costs very little at an auto parts store, and staff there can pull codes for free in many cases. For a reference on what common warning lights mean and how urgent each one is, see this dashboard warning lights guide.
Going forward, your baseline becomes the foundation of your maintenance calendar. Each time you complete a service, log the date and mileage. That record protects you financially if you ever sell, and it keeps you from over-servicing items that were just done or under-servicing ones that were skipped. The same discipline that protects a home budget, described well in this first-time homeowner maintenance budgeting guide, applies equally to a vehicle: track what was done, estimate what is coming, and set money aside accordingly.
For ongoing fluid checks you can do at home between shop visits, this under-the-hood fluid walkthrough covers oil, coolant, brake fluid, and more in plain language.
The content provided on our blog site traverses numerous categories, offering readers valuable and practical information. Readers can use the editorial team’s research and data to gain more insights into their topics of interest. However, they are requested not to treat the articles as conclusive. The website team cannot be held responsible for differences in data or inaccuracies found across other platforms. Please also note that the site might also miss out on various schemes and offers available that the readers may find more beneficial than the ones we cover.